
BY STEPHANIE PANNY
Although it might be hard to shop in stores for that perfect Mother’s Day present during COVID-19, there’s a whole host of do-it-yourself crafting projects with supplies that can be found in your house.
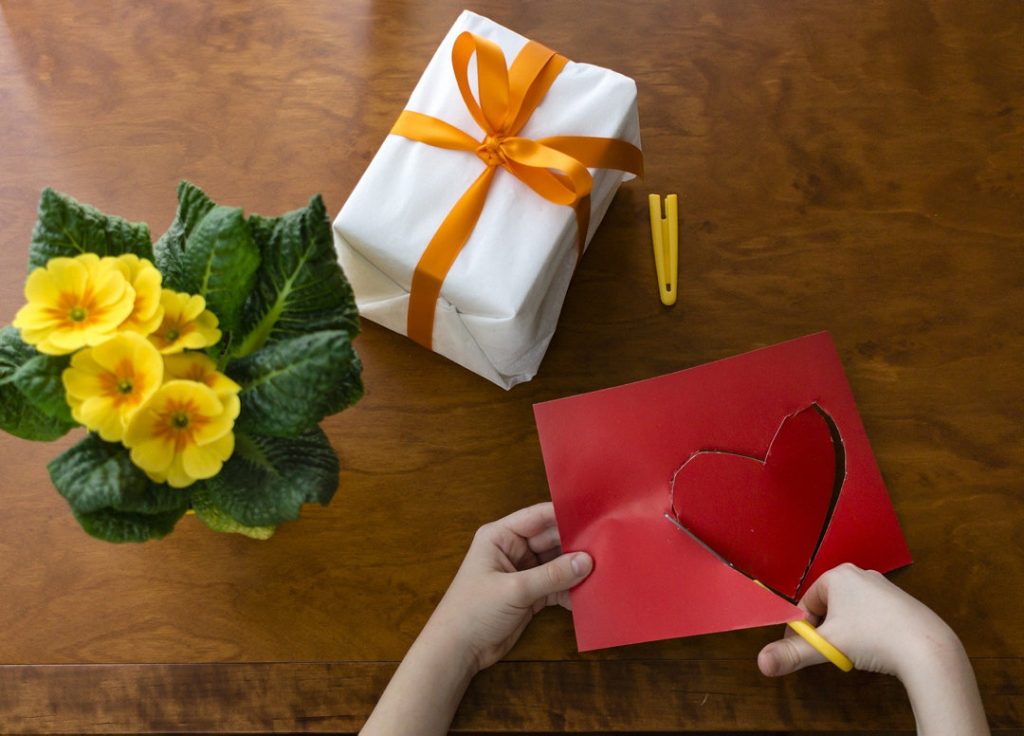
Children can do multiple things to celebrate their mother, like making their own cards and decorating them with handprints, and cutting fruit in half and using paint to create stamped designs on white tea towels.
To help get those creative juices flowing for some homemade gifts, we’ve compiled a list of project ideas for kids ahead of Sunday. These are fun and relatively easy and range from projects for younger children to teenagers.
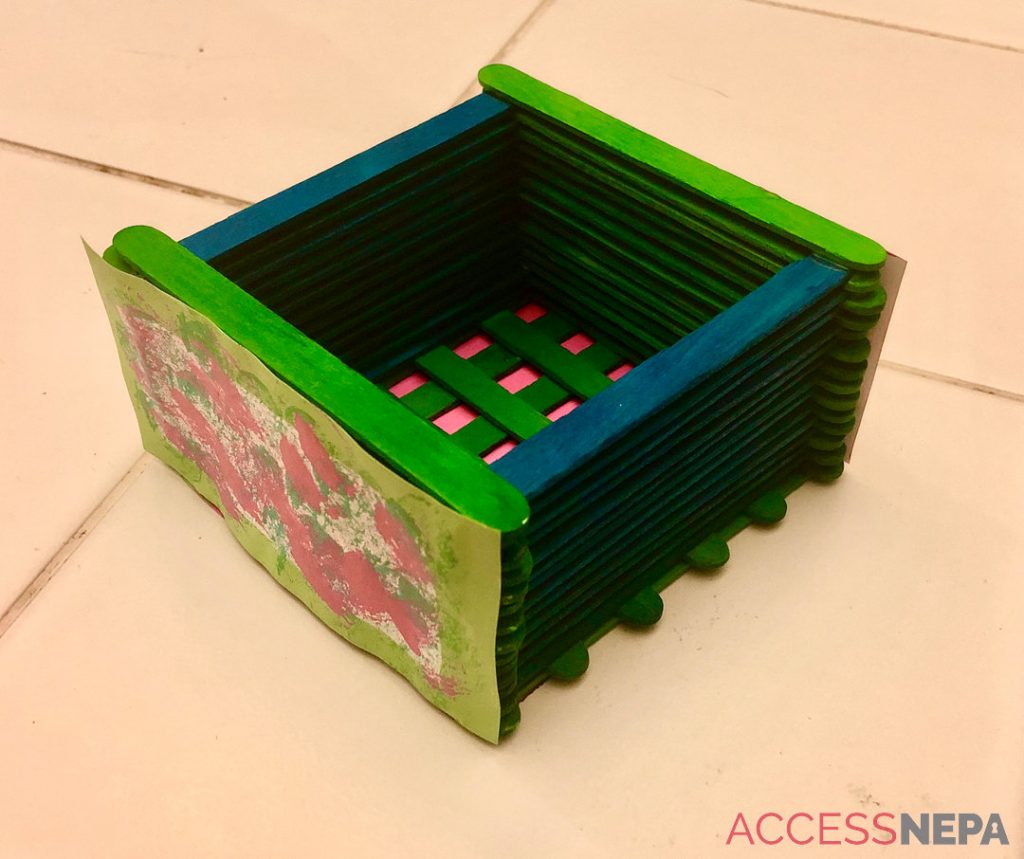
Popsicle stick writing utensil holder
Materials:
- Scissors
- One sheet of construction/cardstock paper
- Elmer’s glue
- At least 50 popsicle sticks
- Embellishments like fake flowers, glitter, jewels, feathers, beads, and paint
Directions:
- Cut a square shape out of the construction paper that’s big enough to layer the popsicle sticks on top of it and hold writing utensils.
- Cover the paper base with popsicle sticks by gluing them on side-by-side, and trim any extra paper with the scissors.
- Glue the sticks around the four edges of the base, and continue gluing sticks in this way until you reach your desired height while making sure the holder doesn’t slant.
- Wait for the glue to dry and decorate the holder.
ACCESS NEPA
Popsicle stick writing utensil holder
Bottle cap magnets
Materials:
- Plastic soda bottle lids
- Multisurface acrylic paint
- Tacky glue
- Paint brushes (one medium/one small)
- Dot magnets
- Photos with small-enough faces for the inside of the cap (use copies if necessary)
Directions:
- Take a bottle cap and use the medium paint brush to cover it with paint (use darker colors if the cap is a dark color or use multiple coats of paint for lighter colors).
- Once caps are dry, take the small paint brush to decorate the grooves of the lids for extra pizazz. (optional)
- Cut the pictures of your faces using a template that will make it fit inside the bottle cap and glue to the inside of the cap.
- When the pictures dry, turn over the bottle cap and glue on the small, round dot magnets and let dry overnight.
Small plate baskets
Materials:
- Paper plates
- Food coloring
- Scissors
- Double-sided tape
- Pencil
- Ruler
- Q-tips or paint brushes
- Water and mixing cups
- String (optional)
Directions:
- Mix the water and food coloring together and, using the Q-tips, cotton balls or paint brushes, make designs on the backs of the paper plates and let them dry completely.
- On the front of the plate (non-designed part of the paper plate), measure 2.5” in width from the middle of each side and draw full lines.
- Where the lines make an “L” shape, cut one of the sides (stopping at the corner) (cut the same sides around the whole plate), and fold inward so the design is facing you.
- Use glue or double-sided tape to connect the folded edge and the straight edge so the plate forms the basket shape. (reinforce with tape along the inside edges if needed)
- Optional: Lightly wrap the piece of string around the basket a couple of times before knotting to keep the basket together and add a little flair.
Contact the writer: spanny@citizensvoice.com; 570-821-2051