
It’s National Lash Day — and nothing awakens my beauty soul like long, dark eyelashes.
As a child, I refused to play with or wear anything with people or animals on it if those people or animals did not have eyelashes. From coloring books to T-shirts, if I had something that had a face on it, there were permanent-marker eyelashes drawn onto it by my dexterous father.
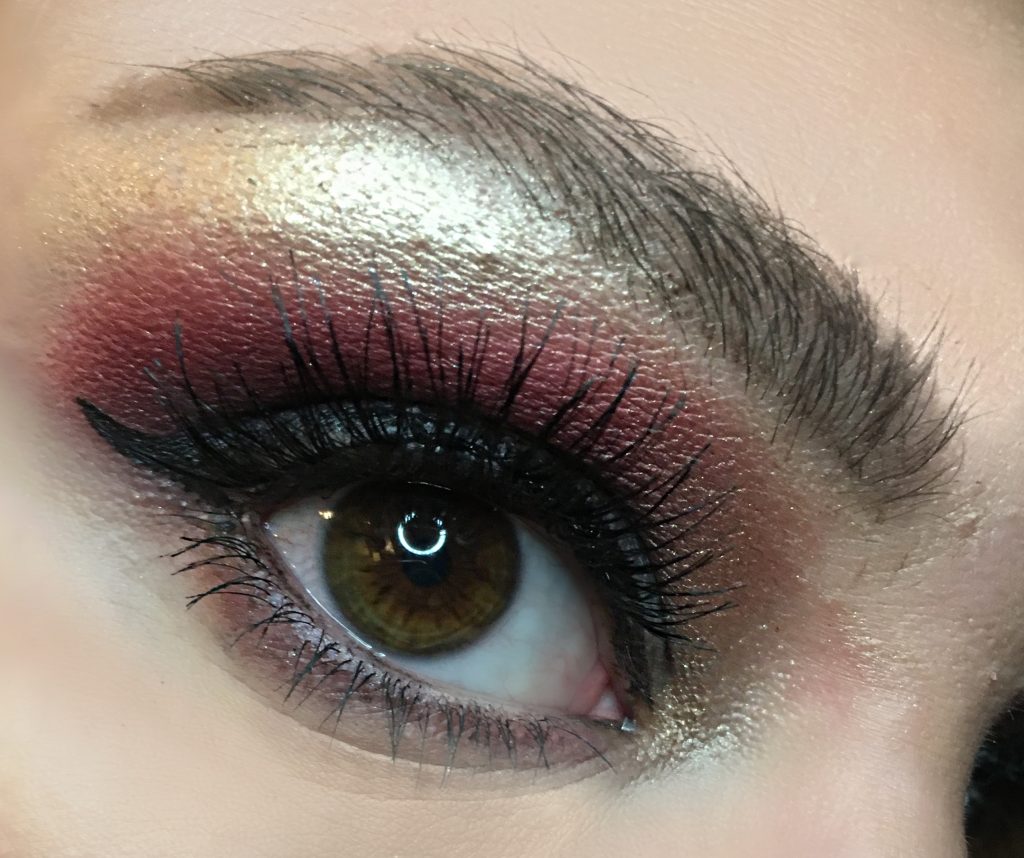
As I grew up, I discovered even though I was born with long but fine, pin-straight lashes, I could have lush, dark lashes by applying falsies. Today’s post is all about false lashes from where to get them to choosing what kind to fool-proof application.
What you’ll need:
- Eyelashes
- Scissors (if trimming lashes)
- Glue
- Scrap paper
- Bobby pin (or anything small and narrow)
- Tweezers (optional)
- Patience (arguably the most important part of this entire process)
Choosing your tools
There are all different kinds of styles of lashes. You have to find the kind you like best and what you’re most comfortable with. I think for anyone starting out, a strip lash, which is a full set of lashes on a single strip, is the easiest to apply.
The thicker the band the lashes are attached to, the better control you have putting them on. A thick band will feel heavier on your eyes, though. Thinner bands (like Ardell Demi Wispies Black) feel light and will blend seamlessly into your natural lash line but they take a bit more patience to apply. Individual lashes are absolutely the most discreet and natural-looking but they take some more skill. These are the battles you have to choose if you’re not used to wearing false lashes but, like anything else, practice makes perfect.
As far as glue, I love Duo Eyelash Adhesive Dark Tone. This dries dark and fills in spots to make the lashes look more natural. You can get lashes or glue just about any place that has a beauty section.
Prep
Gently remove lashes from pack. Then, gently bend them to give them some flexibility.
If you have smaller eyes, trim the lashes from the inner corner. If they’re too long for your eyes, they’ll hang off the ends and you’ll look like you’re going to take off in flight.
Squeeze a dot of glue on scrap paper. Dip one of the pointed ends of the bobby pin into the glue and glide the glue along each lash strip.
This is the most crucial part: waiting for the glue to be tacky enough to apply. The glue NEEDS TO BE TACKY in order for it to stick. I give the glue that I placed on the lash strip 90 seconds, at the very least, to get tacky before I try to place it on my eye. If it’s too wet, it won’t stick and it will be a frustrating mess.
How to apply
Make sure you’re applying the lashes to the correct eye. The lashes will be correct in the package, as in the lash for the right eye is on the right and left on the left. If for any reason they get mixed up, strip lashes typically fan out and the longer lashes should be on the outside. There are some styles that are short on the sides and long in the middle but, in that case, it won’t matter what eye you put them on.
Get close to the mirror. You want to place the strip as close to your own lash line as humanly possible so being able to really see what you’re doing is key. Some people use tweezers to apply but I feel I have more control using my hands.
Place the strip on your lash line and hold it there for a few seconds. You almost want to get the strip in the tiny crevice between the roots of your lashes and your eyelid. This is where the tackiness saves you. As long as the glue is tacky enough, the lashes will just stick and stay where you place them.
*** If it’s still too wet (typically around the edges), the strip might pop back up. If this happens, it’s best to just remove the lash and clean up any glue on your eyelid with a Q-tip dipped in eye makeup remover. Then, start over.
The first few seconds
If you’re not used to wearing them, blinking will feel weird at first. Not unbearable, just strange and heavy. Your eye might water slightly. This might suck but as my mother has told me since I was a little girl, “You have to suffer to be beautiful.” I promise, it’s really not that bad and you will get used to it after a few seconds. You will probably forget they’re there.
To remove
When it’s all over, I typically peel my lashes off from the inner corner out. Any leftover glue should come off with some eye makeup remover on a cotton ball. (I love Neutrogena Oil-Free Eye Makeup Remover or any of its generic counterparts.)
That’s basically it. I like to clean up any rogue glue or lash unevenness with black liquid liner. I also keep an extra tube of glue in my makeup bag in case I need to touch up any spots while I’m out.
Otherwise, practice this until you’re so good you can do it at a friend’s house, at your desk at work or in the car in the Dunkin’ Donuts drive-through. Ain’t no rest.

Gia Mazur is an award-winning staff writer and beauty obsessive who joined The Times-Tribune’s Lifestyles department in 2015. She’s a product enthusiast who can’t live without an eyelash curler. A proud Virgo, Charlotte Tilbury Matte Revolution Lipstick in Pillow Talk is her go-to. Contact: gmazur@timesshamrock.com; 570-348-9127; @gmazurTT